
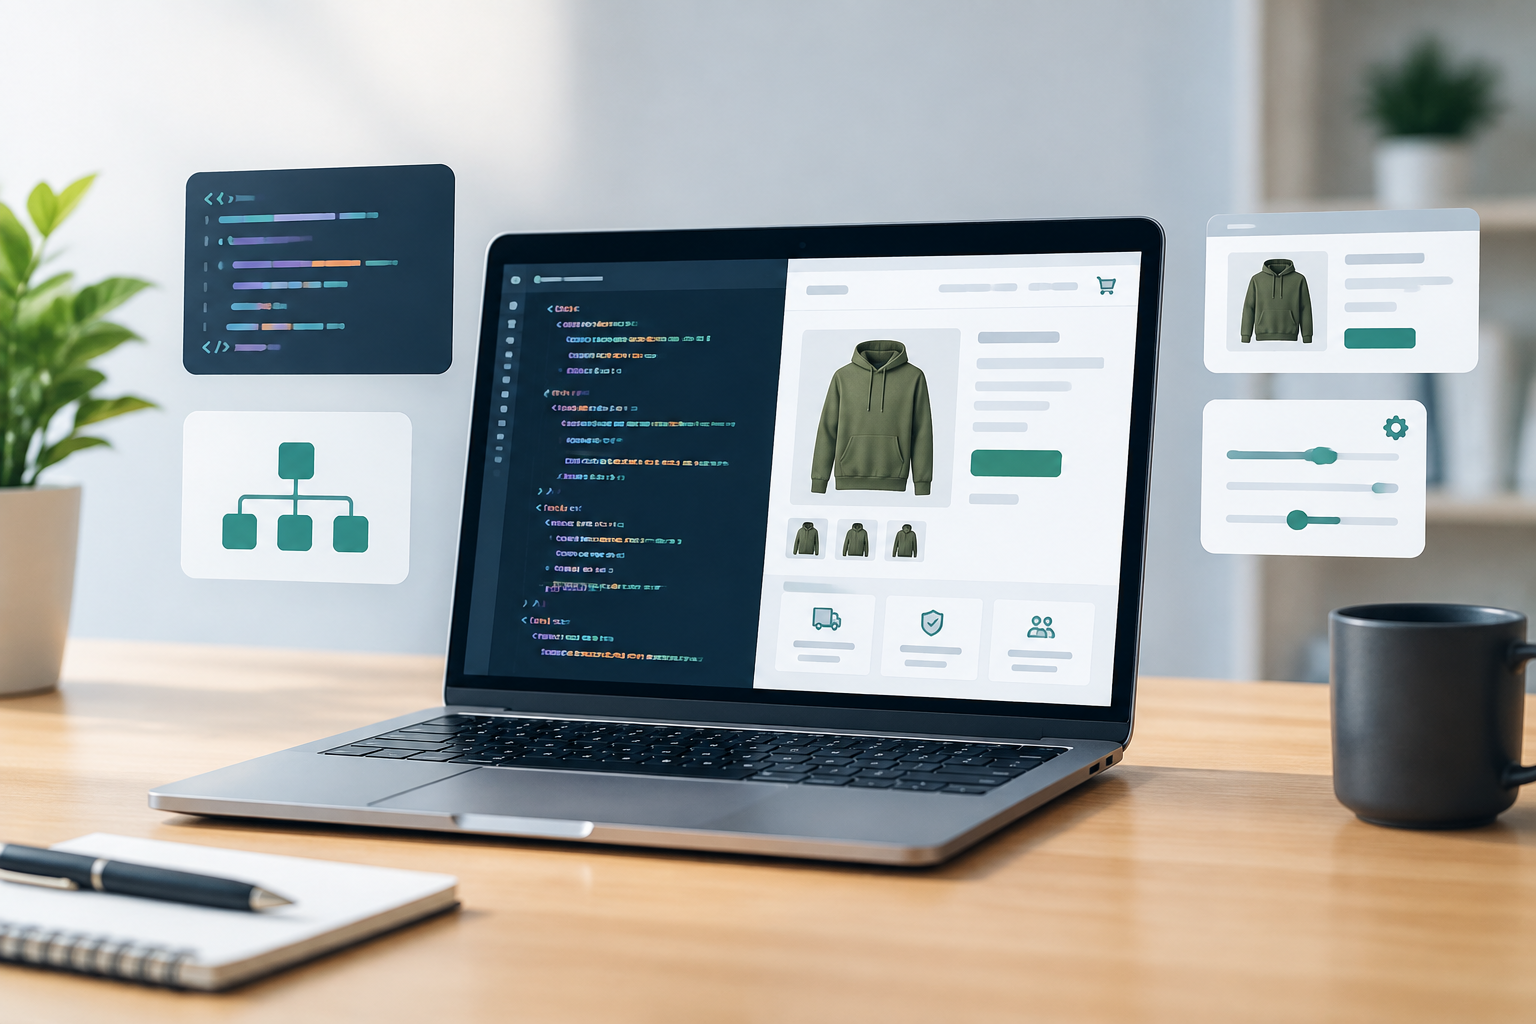
Shopify Liquid Customization: A Practical Guide for Better Store Experiences

Shopify Liquid customization gives store owners more control over how their storefront looks, behaves, and presents products. While Shopify themes provide a strong foundation, many businesses need experiences that go beyond standard settings. Liquid makes it possible to adapt theme templates and display dynamic content without rebuilding an entire store from scratch.

This guide explains what Shopify Liquid is, where it can be used, and how businesses can approach customization safely and effectively.

What Is Shopify Liquid?

Liquid is Shopify’s template language. It connects a theme’s code with store data, such as products, collections, customers, cart contents, and settings. Liquid uses objects, tags, and filters to determine what content appears on a page and how that content is presented.

For example, a theme can use Liquid to display a product title dynamically:

{{ product.title }}

In this example, product is an object and title is one of its properties. The value changes automatically depending on the product being viewed.

Liquid does not replace HTML, CSS, or JavaScript. Instead, it works alongside them. Liquid controls dynamic output, while HTML structures the page, CSS controls appearance, and JavaScript can add interactive behavior.

Why Businesses Customize Shopify Liquid

Standard theme settings are useful for making basic changes, but they may not support every business requirement. Liquid customization can help a store create a more relevant and consistent shopping experience.

  • More flexible layouts: Add or reposition content that is not available through the theme editor.
  • Dynamic product information: Show content based on product type, collection, tags, or metafields.
  • Stronger merchandising: Highlight specific products, promotions, or buying guidance.
  • Improved brand consistency: Match the storefront more closely to established brand guidelines.
  • Better customer guidance: Add sizing information, care instructions, trust messaging, or delivery details in relevant locations.

For businesses planning broader improvements, an internal link to a relevant Shopify development services page can help visitors explore professional support options.

Common Shopify Liquid Customization Areas

Product Pages

Product pages are one of the most common places for Liquid customization. A business might want to show different information depending on the product being viewed.

For example, a store could display a message for products with a specific tag:

{% if product.tags contains 'featured-care' %}
  <p>Includes detailed care instructions with your order.</p>
{% endif %}

This approach can be useful for apparel, beauty products, electronics, furniture, and other categories where customers need additional buying information.

Liquid can also be used to display product metafields. Metafields allow businesses to store structured information beyond standard product fields, such as materials, dimensions, ingredients, technical specifications, or warranty details.

Collection Pages

Collection templates can be customized to provide more context around a product group. A store might display a category introduction, a buying guide, or a promotional message only for selected collections.

{% if collection.handle == 'office-chairs' %}
  <p>Compare ergonomic features before choosing your office chair.</p>
{% endif %}

When used carefully, conditional content can make collection pages more helpful without repeating the same message across the entire site.

Navigation and Header Sections

Liquid can support navigation-related adjustments, such as showing a special announcement, adding a secondary message, or changing content based on the current template. Header changes should be tested carefully because the header appears across many pages and can affect mobile usability.

Cart and Checkout-Related Experiences

Businesses often use Liquid to improve the cart experience by displaying free-shipping thresholds, product recommendations, or relevant notices. A simple cart message might be based on the current cart total:

{% if cart.total_price < 5000 %}
  <p>Add more items to qualify for free shipping.</p>
{% else %}
  <p>Your order qualifies for free shipping.</p>
{% endif %}

Shopify’s available checkout customization options depend on the store setup, plan, and current Shopify capabilities. Before changing checkout-related functionality, confirm which extension points and permissions are available.

Using Conditions, Loops, and Filters

Three Liquid features are especially important for theme customization.

Conditions

Conditions use statements such as if, elsif, and unless to control when content appears. They are useful for product tags, templates, collection handles, customer states, and other business rules.

Loops

Loops repeat an action for a group of items. For example, a theme can loop through products in a collection or display several related links. Loops should be structured carefully to avoid showing too much content or affecting page performance.

Filters

Filters modify or format Liquid output. Common uses include formatting prices, changing text case, creating image URLs, and converting values into readable formats.

{{ product.price | money }}

The correct filter depends on the type of data being displayed. Testing is important because an incorrectly formatted value can create confusing storefront output.

Shopify Theme Files Commonly Used for Liquid Changes

The exact file structure varies between themes, especially between older themes and Online Store 2.0 themes. However, several areas are commonly involved:

  • Templates: Define the structure used for product, collection, page, blog, and other page types.
  • Sections: Create reusable, configurable areas that can often be arranged in the theme editor.
  • Snippets: Store smaller reusable pieces of Liquid, HTML, or related code.
  • Layout files: Provide the broader page structure, including elements such as the header and footer.
  • Assets: Contain CSS, JavaScript, images, and other theme resources.

Before editing a live theme, duplicate it and work on the copy. This gives the team a rollback option if a change creates a visual, functional, or compatibility issue.

Best Practices for Safe Liquid Customization

Start With a Clear Requirement

Define what the customization should achieve before changing code. “Improve the product page” is too broad. A stronger requirement might be “show material and care information below the product description for products that have those metafields.”

Use Reusable Sections and Snippets

Reusable code is easier to maintain than repeated code copied into several templates. If the same promotional message or product information block appears in multiple places, consider creating a snippet or section.

Keep Business Rules Manageable

Long chains of nested conditions can become difficult to understand. Where possible, use metafields, theme settings, or structured data instead of hardcoding many product handles and one-off exceptions.

Protect Performance

Liquid customization can affect page output and loading behavior. Avoid unnecessary loops, repeated data lookups, oversized images, and scripts that load on every page when they are only needed in one location.

Test Across Devices and Templates

Test changes on desktop and mobile devices, as well as across relevant product types, collections, customer states, and page templates. A customization that works on one product may fail when a metafield is empty or a product has different variants.

Common Mistakes to Avoid

  • Editing the live theme without creating a backup.
  • Hardcoding content that staff need to update regularly.
  • Assuming every product has the same metafields or available values.
  • Adding custom code without checking how it interacts with the theme editor.
  • Using too many conditional rules for content that could be managed through structured settings.
  • Ignoring accessibility, especially for headings, buttons, images, and interactive elements.
  • Failing to document what was changed and why.

When to Hire a Shopify Developer

Simple text changes may be manageable for a confident store administrator, but more complex customization can require theme development experience. Professional help is particularly useful when changes involve multiple templates, metafields, custom sections, third-party apps, performance concerns, or advanced JavaScript.

A developer can also review existing theme code, identify conflicts, and create a maintainable solution rather than adding another isolated patch. This is especially valuable for stores that rely on frequent merchandising updates or have several teams working on the storefront.

Build a More Flexible Shopify Store

Shopify Liquid customization can turn a standard theme into a storefront that better reflects a business’s products, customers, and operational needs. The best results come from clear requirements, reusable code, structured content, and careful testing.

If your store needs custom sections, dynamic product information, or a more tailored shopping experience, contact Sarrloop to discuss your requirements and explore a practical Shopify development approach. Insert promotional link here

For related guidance, consider linking this article to your Shopify theme development guide, ecommerce website services page, or website performance optimization resource.

Related: E-Commerce Customization: How to Build a Store That Converts and Scales

Related: JavaScript Development for Modern Businesses: Build Faster, Scalable Web Experiences

Related: API Integration for Businesses: A Practical Guide to Connected Systems

Need help with your website?
🚀 Hire Me for WordPress

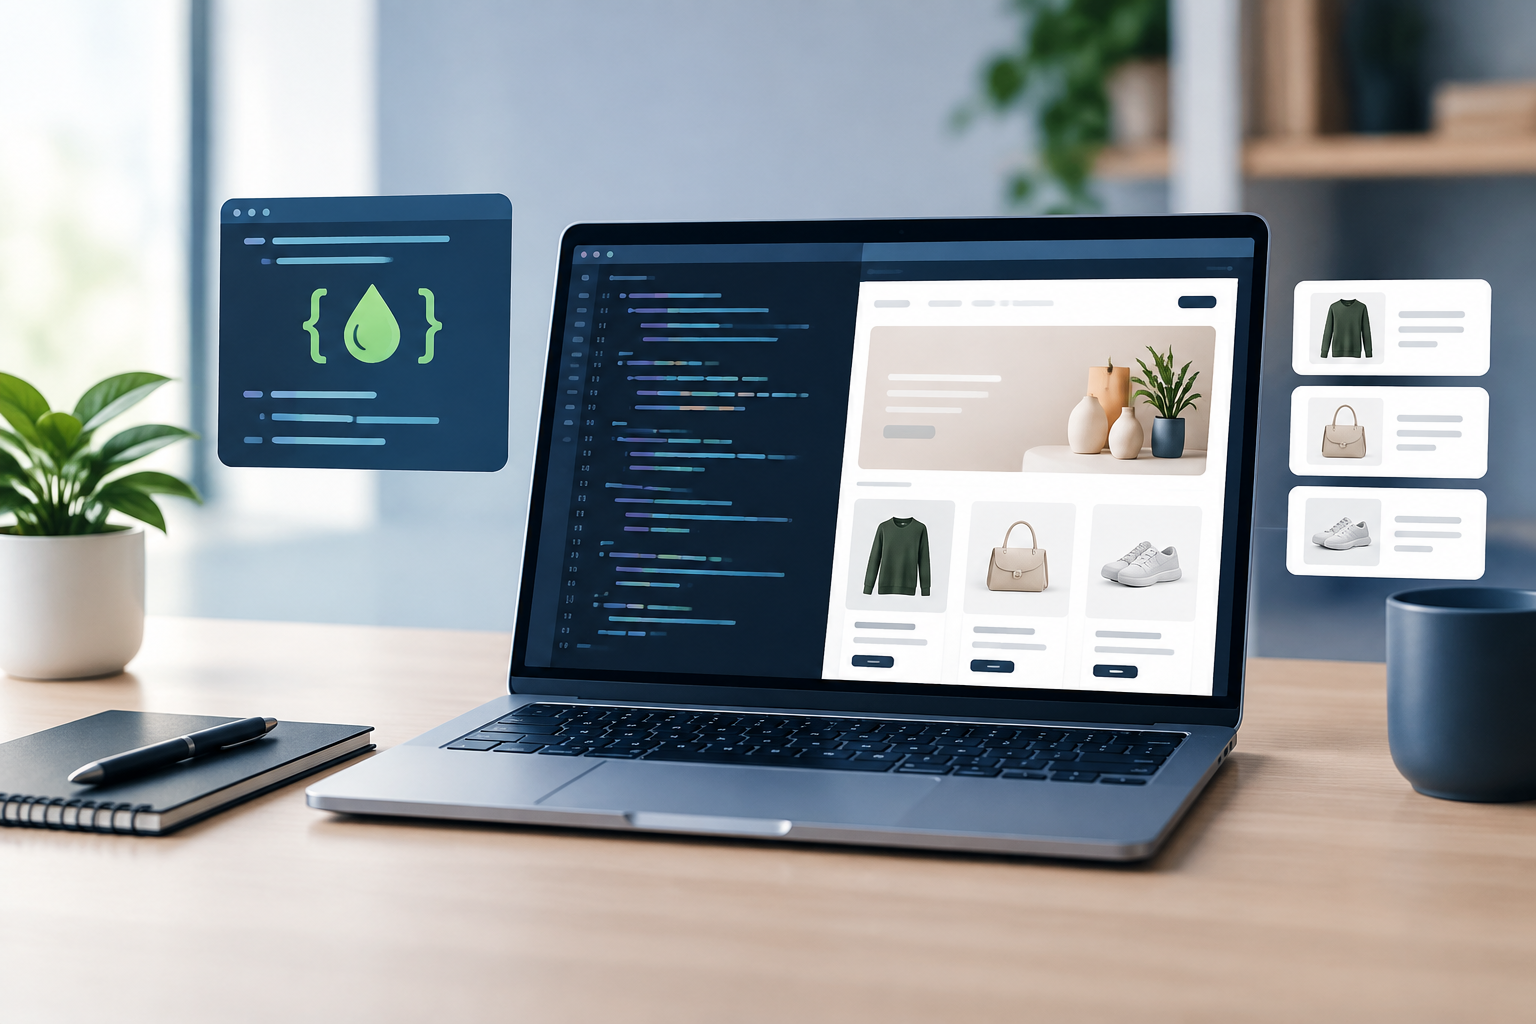
Shopify Liquid Customization: A Practical Guide for Better Storefronts

Shopify Liquid customization gives store owners and developers more control over how a Shopify storefront looks, behaves, and presents product information. While Shopify themes provide a strong foundation, Liquid makes it possible to adapt templates to specific business requirements without rebuilding an entire store from scratch.

With the right approach, Liquid can support clearer product pages, more useful collection layouts, personalized content, and stronger merchandising experiences. This guide explains what Shopify Liquid is, what you can customize, and how to make changes safely and effectively.

What Is Shopify Liquid?

Liquid is Shopify’s template language. It combines store data with HTML to generate dynamic content on the storefront. Instead of manually creating a separate page for every product, Liquid allows a theme to display information from products, collections, customers, carts, and other Shopify objects.

Liquid uses three main concepts:

  • Objects: These output store data, such as a product title or price.
  • Tags: These control logic, including conditions, loops, and template rendering.
  • Filters: These modify output, such as formatting a price or changing text.

A simple example looks like this:

<h2>{{ product.title }}</h2>

This code displays the title of the current product. A conditional statement could show a message only when a product is available:

{% if product.available %}
  <p>In stock and ready to ship</p>
{% else %}
  <p>Currently unavailable</p>
{% endif %}

Liquid does not replace HTML, CSS, or JavaScript. Instead, it works alongside them to create a storefront that is both dynamic and visually consistent.

What Can You Customize With Liquid?

Shopify Liquid customization can be used across many parts of a store. The right scope depends on the theme, Shopify plan, app setup, and the desired customer experience.

Product pages

Product templates are among the most common areas for Liquid changes. You can adjust how product titles, descriptions, variants, prices, badges, and availability messages are displayed.

For example, a store might show a special message for products tagged as seasonal:

{% if product.tags contains 'seasonal' %}
  <p class='product-note'>Limited seasonal availability</p>
{% endif %}

Other useful product page customizations include:

  • Displaying product-specific information based on tags or metafields.
  • Showing different content for selected product types.
  • Adding care instructions, shipping notes, or warranty details.
  • Changing the layout of product media, descriptions, or purchase options.
  • Highlighting low-stock or preorder information when the data is available.

Collection pages

Collection templates can be customized to support different merchandising strategies. A business may want to feature a collection introduction, highlight a promotional category, or display a custom message above product grids.

Liquid can also help apply different layouts or content based on the collection handle, template, tags, or metafields. For example, a collection for furniture may need more descriptive content than a collection for small accessories.

Navigation and menus

Menus can be rendered dynamically using Liquid. This is useful when a store needs to show navigation items from Shopify’s menu settings while applying custom markup, icons, labels, or promotional elements.

However, navigation changes should be tested carefully. A small template error can affect multiple pages, particularly when the same header or footer is used throughout the theme.

Cart and checkout-related content

Liquid can customize cart page messaging, free-shipping progress information, cross-sell sections, and order notes. Checkout customization depends on Shopify’s available features and the store’s plan, so it is important to confirm what can be changed before planning the implementation.

Using Metafields for Flexible Store Content

Metafields are one of the most useful tools for Shopify Liquid customization. They allow a store to attach structured information to products, collections, customers, orders, and other resources.

Instead of placing every detail directly in a template, a business can create fields such as:

  • Material or ingredients
  • Technical specifications
  • Care instructions
  • Size guide content
  • Delivery estimates
  • Frequently asked questions
  • Related product references

A product metafield can then be displayed conditionally in a theme:

{% if product.metafields.custom.material != blank %}
  <div class='product-detail'>
    <strong>Material:</strong>
    {{ product.metafields.custom.material.value }}
  </div>
{% endif %}

This approach gives merchants more control over content without requiring them to edit theme files every time product information changes. It also makes templates more reusable across different product categories.

Shopify Theme Architecture and Customization

Before editing Liquid, it helps to understand the structure of a Shopify theme. Common files include:

  • Layouts: Global page wrappers, such as the main theme layout.
  • Templates: Page-level structures for products, collections, blogs, and other resources.
  • Sections: Modular storefront components that merchants can often configure in the theme editor.
  • Snippets: Reusable pieces of markup used in multiple locations.
  • Assets: CSS, JavaScript, images, and other supporting files.

Modern Shopify themes commonly use JSON templates and configurable sections. This allows merchants to rearrange content through the theme editor while Liquid controls the underlying output. A well-planned customization keeps reusable logic in snippets or sections instead of duplicating the same code in several templates.

For businesses planning broader changes, it may be useful to review our Shopify development services page and link to it internally from this section.

Best Practices for Shopify Liquid Customization

Duplicate the theme before making changes

Always work on a duplicated or development theme first. This creates a safer testing environment and allows the live storefront to remain available while changes are reviewed.

Use clear, limited conditions

Liquid conditions should be easy to understand. Excessively nested logic can make a template difficult to maintain and may increase the risk of unexpected output. If a rule becomes complicated, consider moving reusable logic into a snippet or using structured metafields.

Check for blank values

Store data is not always available. Products may have missing metafields, optional images, or incomplete descriptions. Use conditions to avoid empty containers and confusing spaces:

{% if product.description != blank %}
  <div class='product-description'>{{ product.description }}</div>
{% endif %}

Preserve accessibility

Customization should not sacrifice accessibility. Use semantic HTML, descriptive image alt text, visible focus states, meaningful button labels, and a logical heading structure. If a visual component depends on JavaScript, make sure important content remains understandable when scripts do not load as expected.

Consider performance

Liquid itself is only one part of storefront performance. Extra applications, large images, complex JavaScript, and excessive theme code can all affect page loading. Avoid unnecessary loops, repeated queries, and duplicate markup. Load functionality only where it is needed.

Test across real shopping journeys

Do not test only the homepage. Review product pages, collection filters, search results, cart behavior, customer accounts, mobile layouts, and any page affected by the edited section. Test products with different variants, tags, images, prices, and availability states.

Common Shopify Liquid Mistakes

Many theme problems come from small implementation oversights. Common examples include:

  • Editing the live theme without creating a backup.
  • Assuming every product has the same metafields or images.
  • Hard-coding text that merchants need to update regularly.
  • Changing shared snippets without checking every place they are used.
  • Adding CSS or JavaScript that conflicts with existing theme styles.
  • Using product tags as a substitute for structured data when metafields would be more reliable.
  • Ignoring mobile behavior during layout changes.

When a change affects pricing, inventory, taxes, subscriptions, or checkout behavior, additional testing and platform-specific review may be required. Liquid should not be used to create misleading product information or bypass Shopify’s normal commerce rules.

When to Hire a Shopify Liquid Developer

Basic edits may be manageable for an experienced store owner, especially when using a modern theme with clearly named sections. Professional help becomes more valuable when a project involves several templates, custom metafield systems, third-party apps, advanced merchandising rules, or a redesign that must preserve existing functionality.

A developer can help with planning, theme architecture, code quality, responsive design, performance checks, and deployment. This is particularly useful for established stores where an error could affect sales, analytics, search visibility, or customer trust.

For related guidance, an internal link to a relevant resource such as Shopify theme development can help readers continue exploring the subject.

Build a More Flexible Shopify Store

Shopify Liquid customization is most effective when it solves a clear business or customer experience problem. Whether you need better product information, flexible collection layouts, improved merchandising, or reusable content components, Liquid can extend a theme without compromising the manageability of the store.

Start by documenting the desired outcome, identifying the Shopify data involved, and testing the change in a duplicate theme. If the customization touches several areas of the storefront, Sarrloop can help plan and implement a maintainable Shopify solution. Contact our Shopify development team to discuss your project.

Related: E-Commerce Customization: How to Build a Store That Converts and Scales

Related: JavaScript Development for Modern Businesses: Build Faster, Scalable Web Experiences

Related: API Integration for Businesses: A Practical Guide to Connected Systems

Need help with your website?
🚀 Hire Me for Shopify

How to Fix Shopify Webhook Failures and Keep Order Data in Sync

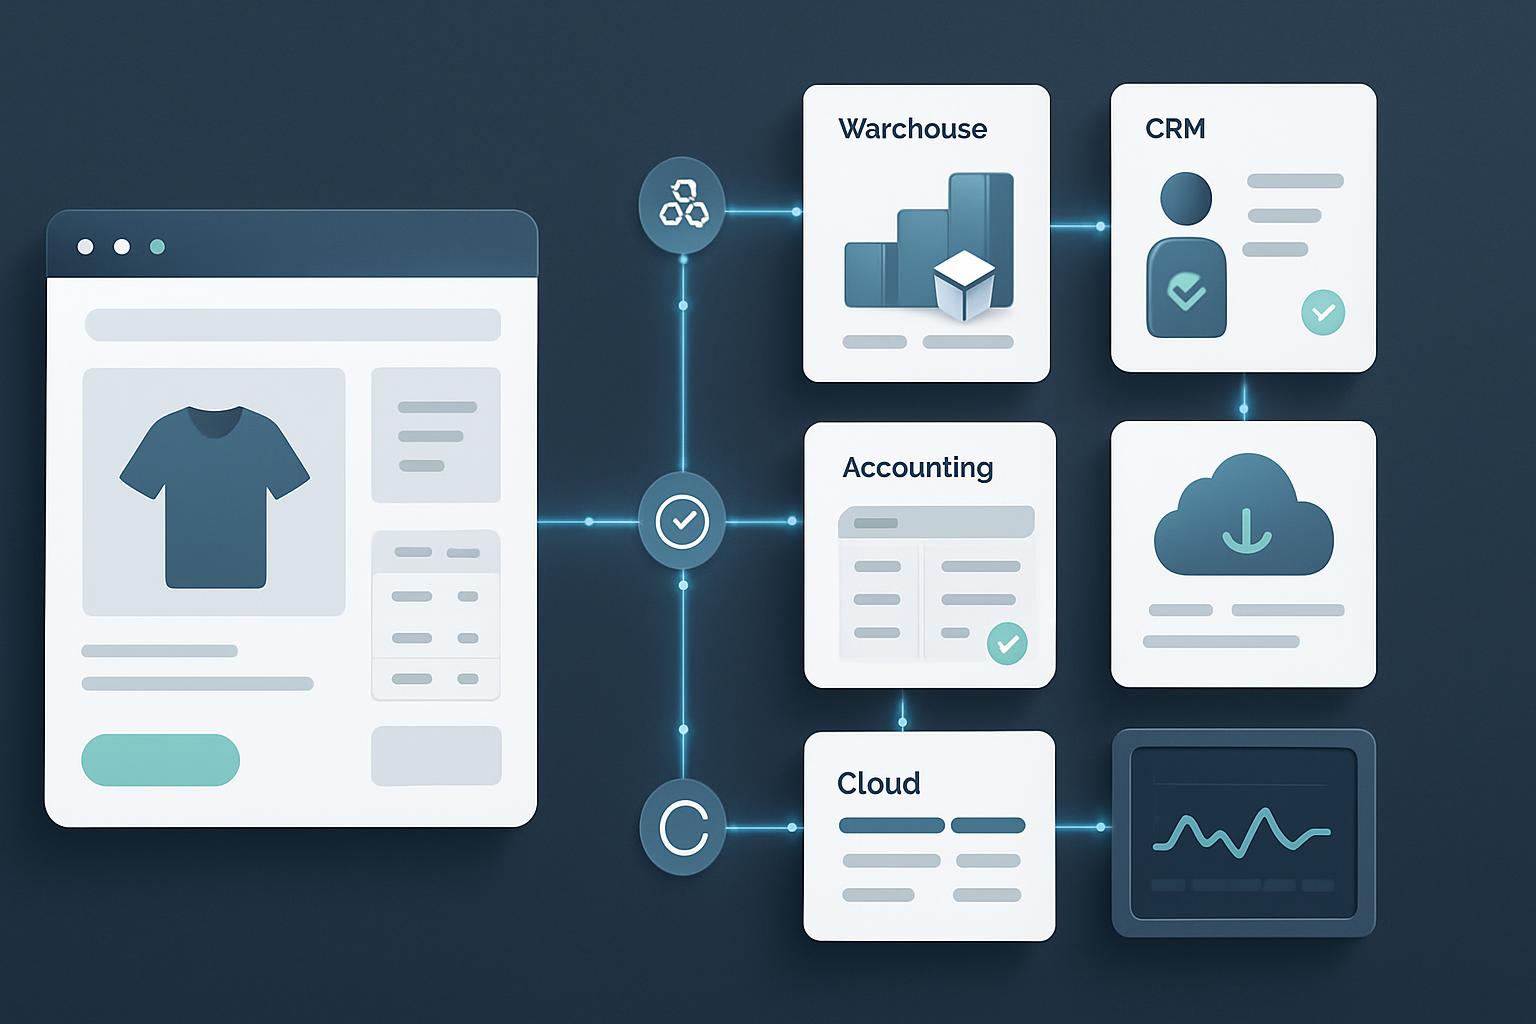
Shopify webhooks help external systems react to store events without constantly polling the Shopify Admin API. When an order is created, updated, fulfilled, cancelled, or refunded, Shopify can send an HTTP request to your application so your warehouse, CRM, accounting platform, or internal database can respond.

When webhook delivery fails, the effects can be serious. Orders may not reach a fulfillment system, customer records can become outdated, and duplicate processing may create incorrect invoices or inventory changes. The good news is that most webhook problems are traceable. A structured troubleshooting process can help you fix Shopify webhook failures and create a more reliable synchronization workflow.

Why Shopify Webhooks Fail

A webhook is only as reliable as every part of the delivery chain. Shopify must send the request, your public endpoint must accept it, your application must authenticate and process it, and any downstream service must complete its own task. A failure at any stage can interrupt order synchronization.

Common causes include:

  • The webhook URL is incorrect, unavailable, or not publicly accessible.
  • The endpoint returns a non-success HTTP status such as 401, 403, 404, 429, or 500.
  • The server takes too long to respond because it performs heavy processing before acknowledging the request.
  • HMAC verification fails because the application does not use the raw request body.
  • The app is listening for the wrong topic or using an unsupported API version.
  • Events are processed more than once because the application has no idempotency protection.
  • A downstream API, queue, database, or fulfillment service is temporarily unavailable.

Before changing code, identify whether the problem is delivery, authentication, application processing, or downstream synchronization. This prevents you from treating a server timeout as an API credential problem.

How to Fix Shopify Webhook Failures Step by Step

1. Confirm the Webhook Topic and Destination

Start by checking the webhook subscription in Shopify. Confirm that the topic matches the business event you actually need. For order synchronization, this may include topics such as orders/create, orders/updated, orders/cancelled, fulfillment events, or refund events.

Review the destination URL carefully. Check the protocol, domain, path, and environment. A common mistake is registering a staging URL, an old API route, or a localhost address that Shopify cannot reach from the public internet.

The endpoint should use HTTPS with a valid certificate and should not depend on a browser session, WordPress login, or an IP allowlist that blocks Shopify. If your application is behind a firewall, web application firewall, proxy, or CDN, review its access logs as well.

2. Inspect HTTP Status Codes and Server Logs

HTTP status codes usually provide the quickest clue:

  • 2xx: Shopify received a successful response. The event may still fail later inside your application, so check processing logs too.
  • 401 or 403: Authentication, authorization, firewall rules, or HMAC validation may be rejecting the request.
  • 404: The route does not exist, or a proxy is forwarding the request incorrectly.
  • 408 or 5xx: The server timed out, crashed, or returned an application error.
  • 429: Your endpoint or a downstream service is rate-limiting requests.

Match the failure time with web server, application, queue, and database logs. Record the Shopify webhook ID, topic, shop domain, response status, processing duration, and internal error message. These fields make it much easier to distinguish one failed event from a broader outage.

3. Return a Fast Success Response

Your webhook endpoint should acknowledge receipt quickly. Do not make Shopify wait while your application creates an invoice, updates several database tables, calls a warehouse API, and sends an email.

A better pattern is:

  1. Receive the request.
  2. Read and verify the payload.
  3. Store the event in a durable database table or message queue.
  4. Return a successful response.
  5. Process the event asynchronously with a worker.

For example, a Laravel application could place a verified webhook payload on a queue and let a background job update the order system. A Node.js service could write the event to a queue such as Redis, RabbitMQ, or a cloud messaging service. The exact technology matters less than separating fast webhook acknowledgement from slower business operations.

Do not return a success response before the payload is safely stored. Otherwise, a process crash immediately after the response could cause permanent data loss.

4. Verify HMAC Correctly

Shopify webhook requests include an HMAC signature that allows your application to confirm the request came from Shopify and was not modified in transit. Verification must use the webhook secret and the exact raw request body.

A frequent implementation error occurs when a framework parses JSON and re-serializes it before verification. Even small formatting changes can produce a different signature. Capture the raw body first, calculate the HMAC using SHA-256, and compare it using a timing-safe comparison method.

Also check that the application is using the correct secret for the store and environment. Development, staging, and production credentials are often different. Avoid logging the secret or the full customer payload in production logs.

5. Make Event Processing Idempotent

Webhook delivery can be retried, and network problems can make a successful operation appear unsuccessful to the sender. Your system must assume that the same event can arrive more than once.

Use the webhook ID, event ID, or another reliable event identifier as an idempotency key. Store it in a database table with a unique constraint. When the same event arrives again, your application can recognize it and avoid creating a second order, duplicate invoice, or repeated inventory adjustment.

For example, a simple event table might contain:

  • event_id
  • shop_domain
  • topic
  • payload_hash
  • status
  • attempt_count
  • received_at and processed_at

Idempotency should also exist in downstream integrations. If a warehouse API does not support duplicate protection, keep a local record of the external operation and confirm its status before retrying.

6. Handle Retries and Temporary Failures

Not every failure should be treated as permanent. A database timeout, temporary API outage, or rate limit may succeed a few minutes later. Build controlled retries into your worker rather than repeatedly retrying inside the webhook request.

Use exponential backoff, a maximum attempt count, and a dead-letter or failed-events queue. Permanent errors, such as an invalid order mapping or missing required field, should be separated from temporary infrastructure errors. Send an alert when an event enters the failed queue so someone can review it.

When retrying an event, use idempotency protection. A retry should attempt to complete the original operation, not create another operation from scratch.

7. Check API Versions and Payload Assumptions

Shopify API versions change over time. Fields, payload structures, and supported topics may change as older versions are retired. If your code expects a field that is no longer included or has changed format, the webhook may be delivered successfully but fail during processing.

Review the API version configured for the webhook and compare the real payload with your application schema. Do not assume that every order contains the same values. Test orders, draft conversions, discounts, taxes, shipping lines, refunds, customer information, and international addresses can expose mapping problems.

For data that is not available in the webhook payload, use the Shopify Admin API after receipt. Keep this follow-up request controlled and authenticated, and respect API rate limits.

Keeping Shopify Order Data in Sync

Use Webhooks for Change Detection, Not as Your Only Database

Webhooks are excellent signals that something changed, but they should not be your only recovery mechanism. Maintain a synchronization process that can compare Shopify orders with your external system and repair missing or outdated records.

A practical design combines real-time events with periodic reconciliation. The reconciliation job can retrieve orders updated after a stored timestamp, compare key fields, and queue corrections. Include a small overlap window to account for clock differences and delayed processing, while relying on idempotency to prevent duplicates.

Track Order State Carefully

Order synchronization is more complex than copying an order number and total. Depending on your business, track payment status, fulfillment status, cancellation state, refunds, line items, shipping address, customer details, discounts, taxes, and inventory-related changes.

Use Shopify’s order identifier as the source reference and store your own internal identifier separately. Do not use an email address as the primary key because customers can change email addresses and multiple orders can share one address.

Plan for Event Ordering

Events may not always be processed in the same order they were generated. For example, an order update could be delayed while a fulfillment event is processed first. Store event timestamps and fetch the latest order state when necessary. Your worker should avoid overwriting newer information with an older payload.

For critical workflows, compare the event’s version or update timestamp with the last synchronized record. If the incoming event is older, record it for audit purposes but do not blindly replace current data.

A Practical Debugging Checklist

When you need to fix Shopify webhook failures, work through this checklist:

  1. Confirm the webhook topic and API version.
  2. Verify that the URL is correct, public, and protected by HTTPS.
  3. Check Shopify delivery information and your server access logs.
  4. Review response codes, timeouts, firewall rules, and proxy behavior.
  5. Confirm that the raw request body is used for HMAC verification.
  6. Check the webhook secret and store credentials for the correct environment.
  7. Return a fast success response after durable event storage.
  8. Process the event through a queue or background worker.
  9. Add idempotency keys and database uniqueness rules.
  10. Monitor failed jobs, retries, rate limits, and downstream API responses.
  11. Run a reconciliation job to find missed or inconsistent orders.

Test with a development or staging store where possible. Use controlled test orders and verify the complete journey from Shopify to your database, queue, business logic, and external system.

Monitoring and Prevention

Reliable webhook integrations need ongoing monitoring. Track delivery failures, processing latency, queue depth, retry counts, duplicate events, and reconciliation differences. Set alerts for repeated failures instead of waiting for a customer or warehouse team to report a missing order.

Keep structured logs that exclude unnecessary personal data. Protect customer information, restrict access to logs, and define an appropriate retention period. Document the webhook topics, credentials, API versions, retry behavior, and manual recovery procedure so another developer can operate the integration safely.

For complex integrations, a small internal dashboard can show received events, processing status, failure reasons, and the related Shopify order ID. This turns an invisible background process into something your team can inspect and repair.

Frequently Asked Questions

Why is my Shopify webhook returning a 401 error?

A 401 usually indicates an authentication or signature-verification problem. Check the webhook secret, the raw request body, the HMAC algorithm, and whether middleware is changing the payload before verification. Also confirm that the request is reaching the intended application environment.

Should a webhook endpoint perform the full order sync immediately?

Usually, no. The endpoint should validate and durably store the event, then return a success response. A queue worker can perform the slower order sync with retries and better error handling.

How do I prevent duplicate Shopify orders in my external system?

Use a unique Shopify order ID and an idempotency key for each webhook event or business operation. Enforce uniqueness at the database level and check existing records before creating an external order.

What should I do when a webhook is delivered successfully but the order is still missing?

Check application and queue logs after the HTTP response. The event may have been accepted but failed during background processing. Compare the order with Shopify through a reconciliation job and safely replay the stored event after correcting the underlying issue.

Can I rely on webhooks alone for permanent synchronization?

No integration should assume that events are the only recovery path. Combine webhook-driven updates with logging, idempotent processing, failed-event replay, and periodic reconciliation against Shopify.

Conclusion

To fix Shopify webhook failures, begin with delivery diagnostics, then secure the endpoint, verify HMAC signatures, acknowledge requests quickly, and process events asynchronously. Idempotency, controlled retries, API-version awareness, and reconciliation are what keep order data accurate over time.

Whether your integration uses Shopify Liquid, PHP, Laravel, JavaScript, WordPress, WooCommerce, or a custom API service, the same principles apply: make events observable, make processing repeatable, and design for temporary failure. With that foundation, Shopify can remain a dependable source of order events for the systems your business relies on.


Need Help With Your Website?

Need professional help with
web development services?
Sarrloop provides custom web development,
troubleshooting and e-commerce solutions.


View My Fiverr Service →

Chat with us
Sarrloop © 2026. All Rights Reseved. Developed by Sarrloop.